
What you need to know.
A photograph transformed into a translucent, glowing print can feel magical. Here's the practical process, what makes it work and the limitations worth knowing.
- A lithophane uses changing material thickness to let differing amounts of light pass through a printed picture.
- Clear subjects, good contrast and a suitable translucent filament help the photograph remain recognisable.
- Print orientation, wall geometry and exposure to a suitable cool light source matter more than decorative colour effects.
- A virtual image-to-3D concept is not a verified physical lithophane or a certified electrical lamp.
What is a 3D printed lithophane, and why does it glow?
A lithophane uses varying plastic thickness to turn a flat photo into an image that becomes visible with light shining through it.
A traditional lithophane is a thin translucent image made with different thicknesses. Where the object is thicker, less light passes through, making a region appear darker. Where it is thinner, more light passes through. Fused filament printing makes it possible to approximate this effect with a carefully designed, backlit plastic panel. The result can reveal a portrait, pet or favourite landscape when placed in front of an appropriate light source.
Unlike a colour photograph, a typical single-material lithophane represents the picture through brightness and shadow. Colour detail often disappears or changes meaning. Its strongest advantage is the surprise of a seemingly plain textured panel becoming recognisable when backlit. To work well, though, image preparation and the physical printer setup must be deliberate.
Which photographs make the best lithophane gifts?
Choose an image with a clear primary subject, enough distinction between foreground and background, and a manageable number of fine details. A well-lit portrait or pet photo with good separation from the background often works better than a dark party picture full of motion blur. Tiny intricate patterns may be lost because the nozzle has finite resolution and the panel must remain printable.
Crop the image thoughtfully. A busy background behind someone's face may compete with the essential features. When the photograph includes private people, particularly children, obtain permission before uploading it to a third-party generator or publishing a preview on a stream. A personal gift does not require sharing the underlying family photo publicly.
- Use the highest useful original resolution rather than a small compressed chat thumbnail.
- Crop closely around the main subject and keep key facial details away from an edge.
- Lift very dark shadows carefully without removing all contrast.
- Check the result in grayscale before creating the thickness map.
- Preview the picture against a virtual light source, but verify the final appearance with a physical test.
How does a photo turn into a printable 3D model?
Lithophane tools convert image luminance into a relief or thickness map. A dark pixel generally becomes a thicker region and a light pixel a thinner one, depending on the generator's mapping. The generator then creates an STL or other printable mesh representing that variation. The design may be flat, curved around a cylinder, or fitted into a frame. Carefully chosen minimum and maximum thicknesses are critical for both the visible image and safe handling.
Do not assume a web generator's default export is appropriate for your exact machine. Inspect the generated geometry in a slicer. Look for a continuous printable thickness, overhangs at any curved frame, and whether the selected nozzle can represent the intended detail. A rough image projection alone is not a substitute for an actual printable model.
Which filament is best for a glowing lithophane?
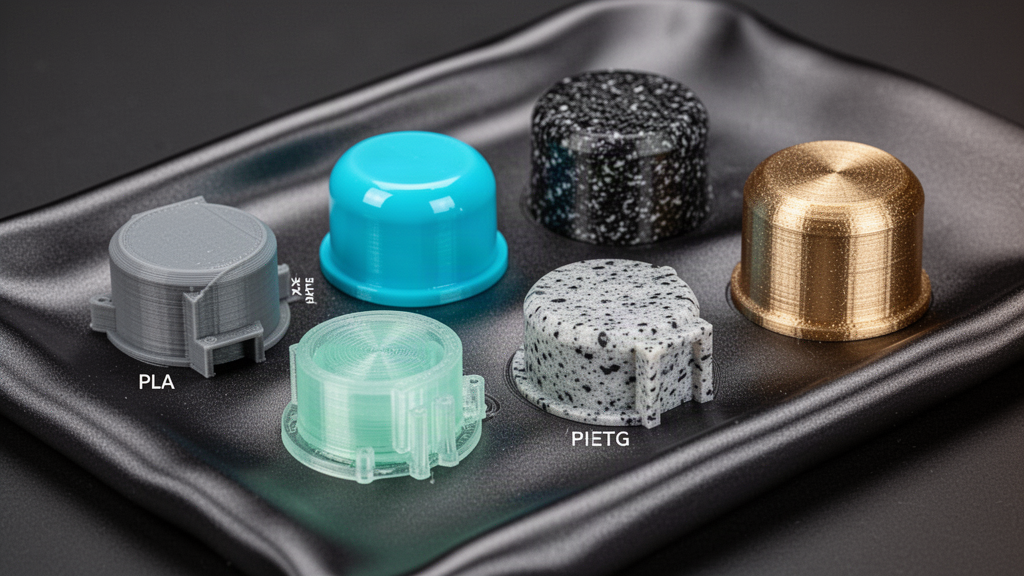
Pale, suitably translucent filament is commonly chosen because it lets a backlight reveal the thickness variation. White PLA is a familiar starting point for many hobby lithophane workflows, but different brands and formulations vary in opacity. Not every white spool looks the same when backlit. Some transparent or coloured materials may wash out the contrast or create unexpected colour casts.
Use a tested material profile and check how heat from the proposed light source will affect the plastic. An exposed incandescent bulb, high-temperature fixture or enclosed heater is not appropriate to place against an unvalidated PLA panel. For a gift with electrical lighting, use an independently compliant, cool-running commercial light source and a design that keeps heat and wiring safely managed.
Should you print a lithophane standing upright or lying flat?
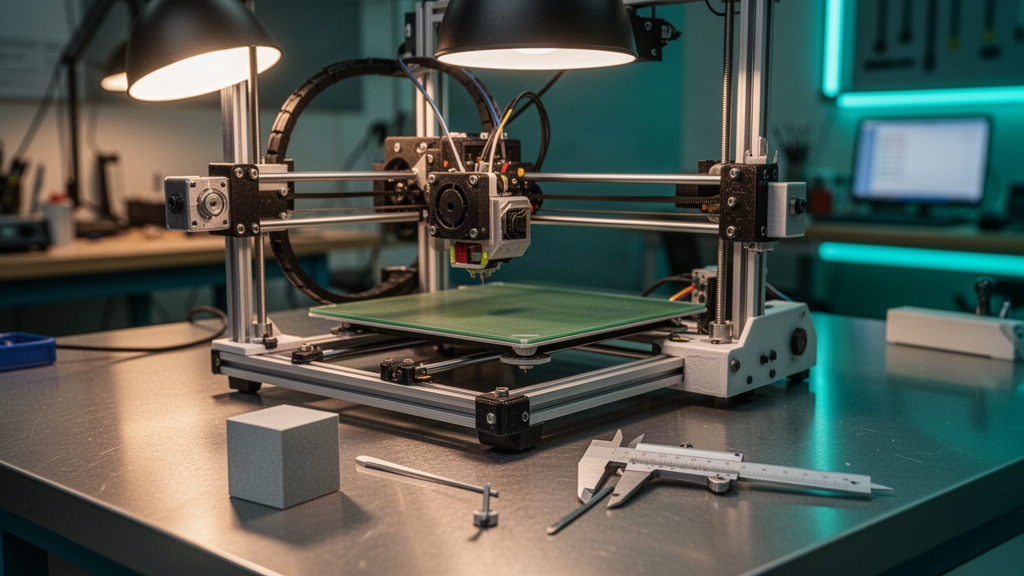
Many common lithophane tutorials recommend printing a flat panel standing nearly vertical, because the thickness variation is then created through perimeter-style motion rather than relying entirely on large flat top surfaces. That can improve tonal definition on suitable machines. However, a tall narrow sheet is vulnerable to wobble and detachment from the build plate. A suitable brim, support strategy or designed base may be needed.
Other orientations and curved forms have their own trade-offs. Select the method that suits the actual generated model, filament and available hardware. Inspect the slice for complete walls, unintended infill gaps and unstable tall geometry. Use the maker's approved profiles for wall widths, cooling and acceleration. There is no single universal lithophane recipe.
| Choice | Potential benefit | What to inspect |
|---|---|---|
| Vertical panel | Finer apparent tonal control in many setups | Wobble, adhesion and stable wall paths |
| Flat panel | Low overall object height | Top-surface stair stepping and tonal resolution |
| Curved or cylindrical | Interesting display effect | Complex support, orientation and light placement |
| Separate framed insert | Easier inspection or replacement | Fit tolerance and safe assembly |
How do you backlight the print safely?
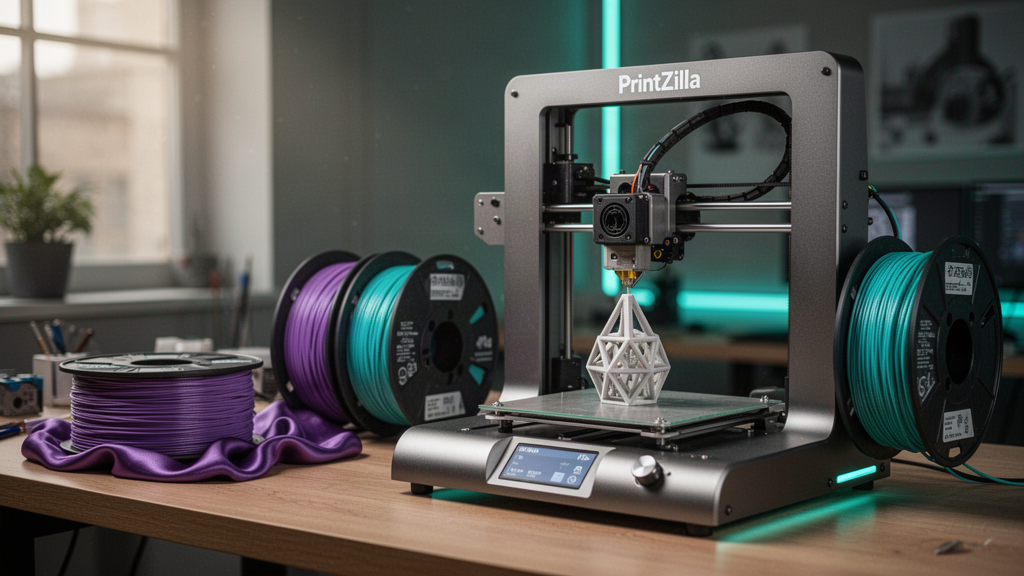
A lithophane needs even light from behind so the darker and lighter areas remain visible. A purpose-made low-temperature LED display panel or suitable commercial stand can provide controlled illumination. Check compatibility, temperature rise and placement with the light maker's instructions. Avoid improvised mains wiring and never leave an untested electrical assembly operating unsupervised.
For a simple gift, a removable lithophane insert used with a separate, certified light source may be preferable to designing an electrical lamp from scratch. The printed panel should not block essential ventilation or touch hot components. Test the final setup in the actual room lighting where it will be displayed. A dramatic studio photograph can hide uneven light distribution or hot spots.
What usually goes wrong with a printed photo?
- An overly dark photograph creates a muddy result with little separation between features.
- A weak original image makes eyes, pet fur and other delicate features difficult to read.
- Wrong thickness settings flatten the contrast or produce fragile sections.
- Inconsistent filament flow creates unwanted bright or dark streaks.
- A tall panel wobbles during printing and loses fine facial detail.
- The light source is uneven, too dim or unsafely hot for the chosen plastic.
- A public preview reveals a private portrait without the subject's permission.
If the first test looks wrong, compare the source image, thickness map and final backlit photograph. Do not immediately change nozzle temperature and slice thickness together. Determine whether the problem came from image processing, model geometry, physical extrusion or the light source, then change one variable. A small cropped sample can save time before manufacturing a large framed present.
From a personal photo to a thoughtful real-world gift
Agree on the photo and privacy expectations first. Decide whether the customer wants a small standalone panel, a separate framed insert or a physical lighted display. Review the crop, thickness preview and proposed dimensions, then choose a compatible printer and filament. A real physical sample should be examined against the intended light source before confirming appearance or colour expectations.
If ordering in the UK, ask for a clear price, production time, materials and delivery terms. Bespoke manufacturing may have different change-of-mind cancellation rules, but goods must still match their description and applicable consumer protections. Never describe a simulated photorealistic gift as already manufactured. Keep all final names, photographs and delivery details in the private order workflow.
- Choose a photo and obtain permission for its use.
- Confirm grayscale crop, dimensions and intended display format.
- Generate and inspect a real printable relief model.
- Slice for verified printer hardware and filament.
- Test a small sample and examine it with the actual light source.
- Agree on material, finish, safety, price and dispatch timing.
- Only then approve and manufacture the physical gift.
Frequently asked questions
01Can any photograph be turned into a 3D printed lithophane?
Many photos can be converted into a thickness map, but clear high-contrast subjects generally translate better. The output still needs printability and privacy checks.
02Does a 3D printed lithophane show the original photo's colours?
A typical single-filament lithophane shows light and dark tonal contrast, not the original full colour. Actual filament and backlight colour also affect its appearance.
03Is it safe to use a printed lithophane as a lamp?
Only with suitable independently compliant lighting and a design assessed for heat and electrical safety. An ordinary printed plastic panel is not automatically a certified light fixture.
04Does PrintZilla Photo Lab automatically manufacture my picture?
No. A concept or virtual preview is separate from a reviewed and confirmed physical manufacturing job.
Sources and useful references
We link to official documentation and publisher guidance where useful. Advice and platform features can change; verify current details with the original source, your printer maker and relevant service provider.
Bring a meaningful image into a maker project
Explore reference-image design ideas, then request independent review for any physical photo-print or lighting assembly.
Open PrintZilla Photo Lab