What you need to know.
Before chasing speed or ultra-fine detail, understand the ten slicer controls with the greatest effect on print quality, reliability and materials.
- Start from a manufacturer-approved printer, nozzle and material profile rather than another person's screenshot.
- Layer height, wall count and infill do different jobs; smaller layers do not automatically produce stronger parts.
- Supports, orientation, first-layer calibration and cooling can decide whether a model prints at all.
- Change and record one setting at a time on a small test model so a successful profile stays repeatable.
Which slicer settings matter most for a reliable 3D print?
The essentials are printer and material compatibility, geometry and path planning, then controlled tuning rather than random adjustments.
A slicer turns a three-dimensional model into instructions for a particular printer. PrusaSlicer, Cura and Bambu Studio use different menus, but all must solve similar questions: how thick each layer should be, where the toolhead should travel, how much material should form the shell and what to do when the model reaches into empty space. Learning these ideas matters more than memorising an impressive-looking screen of numbers.
Do not treat this guide as a universal settings preset. A validated manufacturer profile combines many values that depend on nozzle diameter, hardware and filament. Save a working baseline before changing anything. If a setting creates scraping, abnormal noises, unsafe temperature behaviour or repeated print failure, stop and return to the machine's official instructions.
| Control | Main purpose | Common beginner error |
|---|---|---|
| Layer height | Vertical surface detail | Assuming smallest is always best |
| Perimeters | Outer shell and strength | Using too few walls for function |
| Infill | Interior support and weight | Making every part solid |
| Supports | Print difficult overhangs | Adding needless support scars |
| Speed and cooling | Stable extrusion and bonding | Chasing maximum advertised speed |
1–2. Layer height and extrusion width
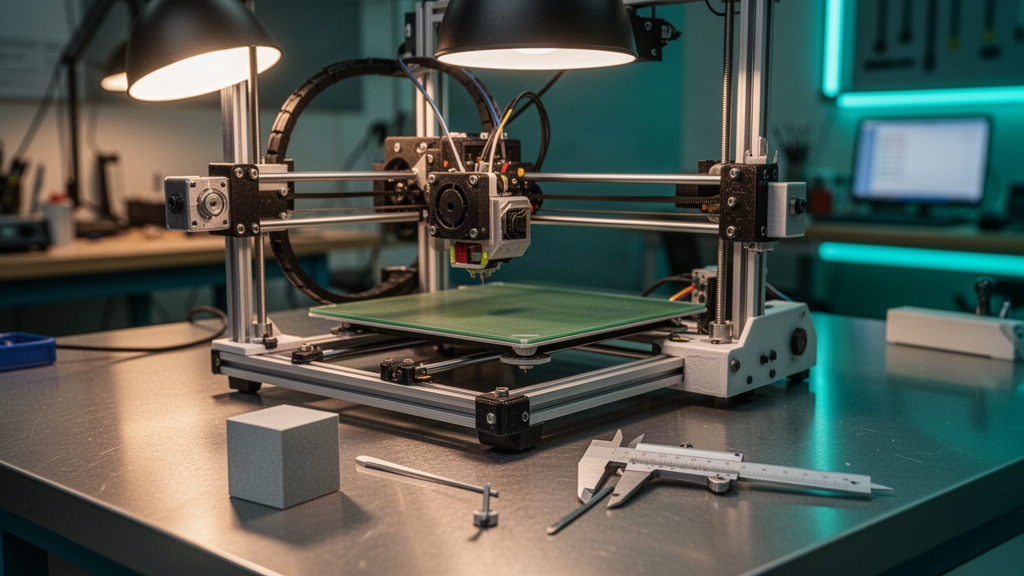
1. Layer height sets the vertical spacing of deposited slices. A smaller height can soften the stair-step effect on a curved vase or miniature, but it adds passes and usually takes longer. A larger height can be useful for quick drafts and some practical parts. It is not a magic way to resolve tiny text in the horizontal plane. Check the nozzle manufacturer's supported range before selecting extremely fine settings.
2. Extrusion or line width controls the intended width of individual strands. It is related to nozzle size but is not identical to layer height. Narrow lines may resolve delicate features, while wider paths can change print speed and wall behaviour. A slicer may already calculate sensible widths automatically. Resist the temptation to override every line type before you understand what the preset does.
In PrintZilla's browser printer, Fine and Ultra Fine display visibly narrower virtual beads and more visual layers. That is an educational model, not a machine-ready slicer profile. Actual printing needs verified material flow and toolpaths.
3–4. Perimeters and infill percentage
3. Perimeters, walls or shells form the continuous outer boundaries of the object. The correct count depends on the geometry and intended loads. An organiser that only holds pens needs different design choices from a non-critical bracket or a small clip. Continuous outer walls can matter more for particular loads than a dramatic infill percentage. Print orientation also affects whether the force pulls across weaker interlayer bonds.
4. Infill describes the internal pattern and density beneath solid surfaces. Many decorative objects do not need to be completely solid. A reasonable infill and suitable top and bottom layers save filament and time. More infill is not a guarantee of greater usable strength: it can increase weight, printing time and internal stresses without improving the real failure point. Always inspect the sliced model and make application-specific test parts.
5–6. Supports and print orientation
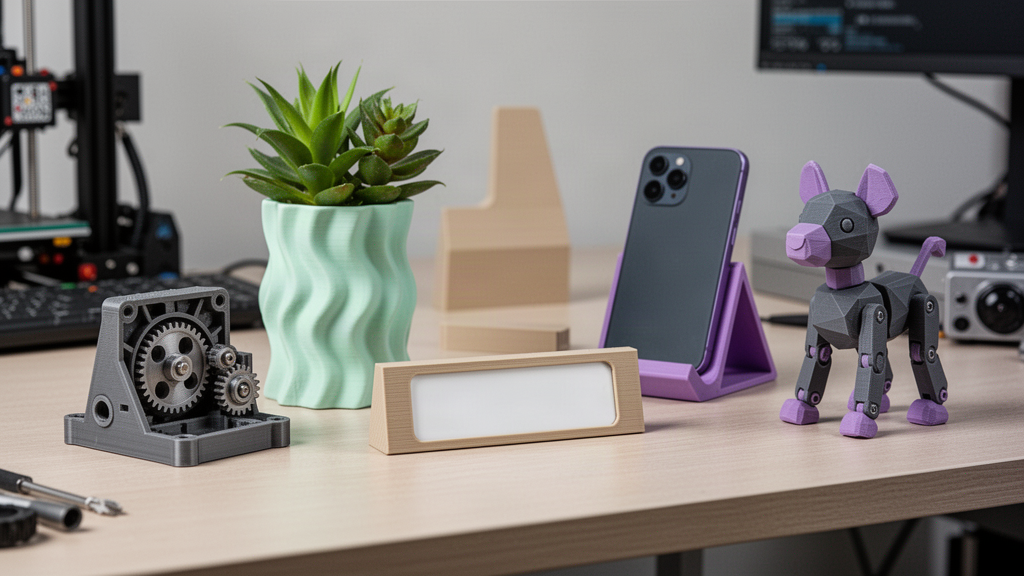
5. Supports provide temporary scaffolding where a nozzle would otherwise extrude over open space. Normal and organic or tree-style supports can use different material and touch different surfaces, but neither is universally better. Examine support contact, overhangs and bridges in the layer preview, then consider whether a small model rotation could avoid the need entirely.
6. Orientation decides which face rests on the plate, which overhangs require supports and the direction in which printed strands carry force. A beautiful front face may be ruined by rough supports if it is placed underneath. A slim tab can be weak when printed in the wrong orientation. Rotate the model deliberately, not just to fit it on the bed, and rerun the slice after changing its placement.
7–8. Speed and temperature
7. Print speed affects the time available for the nozzle to melt filament, for material to settle on the previous layer and for the machine to position accurately. Headline travel speed does not equal actual average toolpath speed. Acceleration, minimum-layer time, volumetric flow and pressure behaviour may limit the real value. Starting with a manufacturer's trusted profile is usually more useful than immediately increasing every number.
8. Nozzle and bed temperature are material-specific. Too low may contribute to poor fusion; too high can increase ooze, stringing or overheating-related problems. Yet the symptom alone does not establish the cause, and the right value depends on spool formulation, machine design and speed. Do not exceed hardware or material specifications. If you see unusual fumes, thermal alarms or melted components, stop and follow the printer maker's safety procedure.
9–10. Part cooling and first-layer settings
9. Cooling fan rules affect how quickly newly deposited strands become stable. Some decorative PLA features benefit from carefully planned cooling; other materials can suffer if cooled too aggressively. Tiny layers may trigger minimum-layer-time rules. A fan percentage copied from a different material is not a trusted recipe, and enclosure airflow may matter for technical polymers. Follow the material profile and watch for curling or poor layer adhesion.
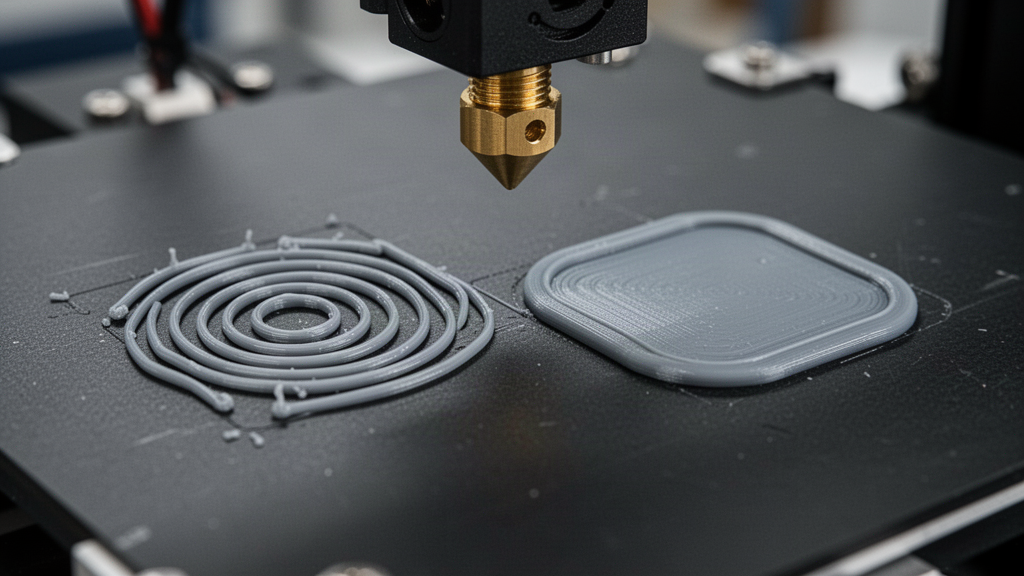
10. First-layer settings include build plate adhesion, initial-layer height, travel behaviour and appropriate temperatures. The slicer's settings work together with the printer's actual levelling and nozzle calibration. A greasy plate or incorrect offset is not fixed by increasing the print's overall resolution. Inspect the first-layer lines and use the approved surface-cleaning procedure before adding unnecessary glue or large brims.
A repeatable workflow for tuning your slicer
- Select the exact printer model, nozzle size and approved filament profile.
- Keep a dated copy of the original profile before customising it.
- Start with a simple model whose dimensions you can actually inspect.
- Slice and review missing walls, supports, travel paths and contact with the plate.
- Change one relevant setting at a time, keeping other variables consistent.
- Print a short repeatable sample and check surface, fit and actual behaviour.
- Write down the result and revert if the change made matters worse.
- For a real customer order, confirm the specification and manufacturing limits before taking payment.
Print settings interact with material choice and design. The most successful profile for a decorative nameplate might be a poor fit for a flexible bumper or a large practical housing. Build a short library of genuinely tested profiles rather than pursuing one mythical perfect configuration. Manufacturer documentation remains authoritative for machine-specific limits, and a visual simulation is never a substitute for calibration.
Frequently asked questions
01What slicer setting makes 3D prints stronger?
There is no single switch. Perimeters, infill, material, extrusion quality, layer bonding, part geometry and print orientation all matter. Test real loads rather than assuming a particular percentage guarantees strength.
02Is 0.08 mm always better than 0.20 mm?
No. Very fine layers may improve some curves but add machine time and often have diminishing visible returns. Use a validated nozzle and material profile.
03Can I copy someone else's Cura or PrusaSlicer settings?
Only after confirming printer, nozzle, filament, build plate and hardware compatibility. A working profile for one machine may be unreliable or unsafe on another.
04Does the PrintZilla precision demo create real G-code?
No. It shows educational virtual layers and filament geometry. A real print requires a verified slicer and printer-specific manufacturing process.
Sources and useful references
We link to official documentation and publisher guidance where useful. Advice and platform features can change; verify current details with the original source, your printer maker and relevant service provider.
See how precision settings affect real-looking layers
Explore the virtual printer's fine-layer options, then send an actual model for a separate physical print review.
Try the precision studio