What you need to know.
Stringing, warped corners, sudden layer shifts? Match the symptom to a likely cause, then make one measured adjustment instead of guessing at the printer.
- Identify the defect before changing speed, temperature or retraction.
- Start with a clean first layer and a correct manufacturer-approved material profile.
- Stringing, warping, layer shifting and weak layers have different causes and treatments.
- Stop and inspect a machine that clicks, grinds, scrapes, overheats or moves unexpectedly instead of forcing the job to continue.
What is the fastest way to diagnose a failed 3D print?
Describe the symptom, identify when it began and change one variable at a time. A short, repeatable test beats random tuning.
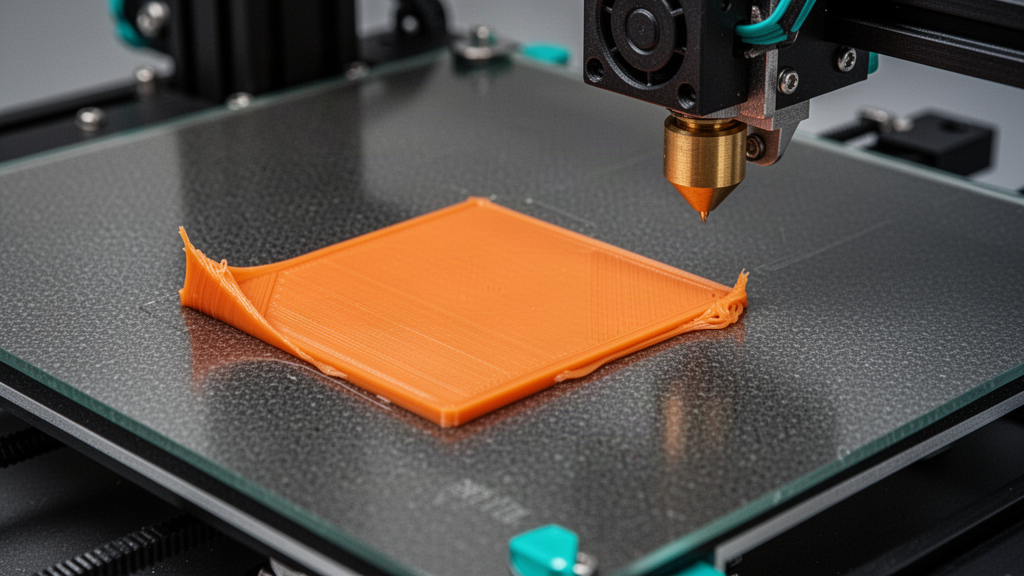
A failed filament print leaves clues. A loose first layer points towards bed preparation or nozzle height; strings between towers point towards ooze during travel; a clean sideways staircase can indicate missed motion. These defects may appear on the same model, but each starts with a different diagnostic path. Take a sharp photograph, record material and slicer profile, and note the layer where the failure began.
The checks below are general FDM guidance based on common manufacturer troubleshooting categories. Follow your actual machine manual for calibration, electrical servicing, heated components and firmware changes. Do not bypass interlocks or adjust belts and electronics around powered moving hardware.
| Visible symptom | Start by checking | Avoid doing first |
|---|---|---|
| Loose base | Plate cleanliness and first layer | Randomly raising nozzle heat |
| Hairlike strings | Material moisture and travel settings | Extreme retraction |
| Corners curling | Bed, environment and contact area | Forcing the hot print flat |
| Sudden layer offset | Belt/pulley and collision causes | Continuing an obviously colliding print |
| Gaps in layers | Flow path and extrusion | Assuming more speed fixes it |
1–2. First layer won't stick and corners are warping
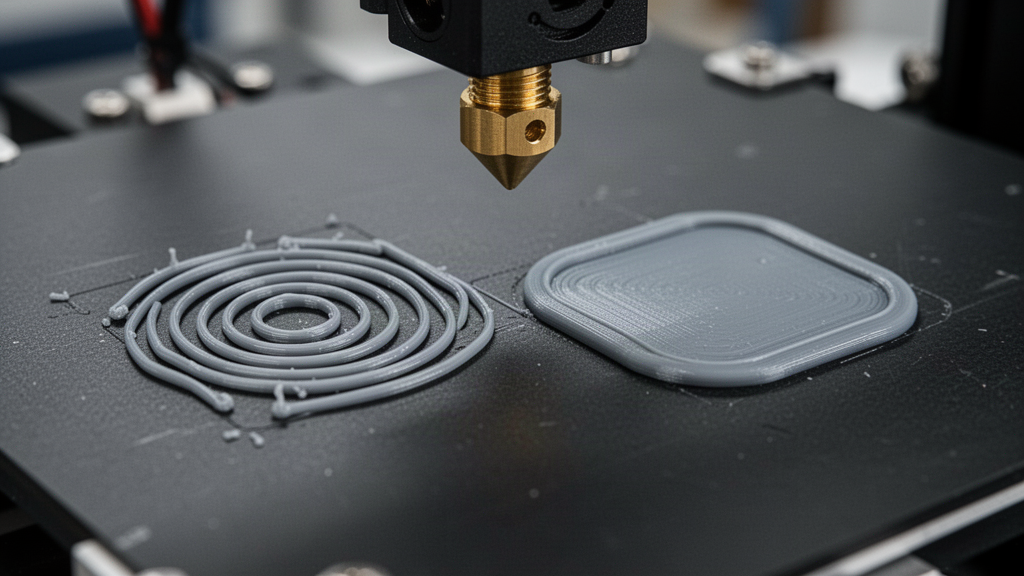
1. The first layer will not stick. Begin by confirming the correct build surface and manufacturer-approved cleaning method. Fingerprints and dust can defeat otherwise good settings. Watch a simple calibration square: separate round lines often indicate insufficient contact, while ploughed ridges can mean the nozzle is too close. Calibrate according to the printer's exact procedure and confirm first-layer fan, temperature and speed in its material profile.
2. Corners curl or lift later. Shrinkage, cold drafts, insufficient contact area and incompatible bed conditions can all contribute. Inspect when the lift began. A brim may help a narrow footprint, but it does not solve a greasy plate or a material that requires an enclosure. Check that the cooling, room conditions and bed temperatures follow the selected material profile. PETG's adhesion to some smooth PEI surfaces may be too strong, so check release requirements before adding glue or changing sheets.
3–4. Stringing, wisps and rough or blobby surfaces
3. Fine strings between separate towers. Strings form when softened filament continues to ooze during non-printing moves. Check whether the spool has absorbed moisture, then verify that retraction, temperature and travel speed match the filament and extruder system. A short stringing test is more useful than tuning a giant production model. Avoid pushing retraction far beyond your machine's supported range because it can cause jams or inconsistent extrusion.
4. Surface blobs or zits. An inconsistent flow, restart point, seam or moisture-related pressure variation can leave small deposits. First decide whether the marks follow a regular vertical seam or scatter across the object. Inspect the slicer preview for seam placement and travel behaviour. Compare the material profile and dry the filament only using the manufacturer's recommended method if moisture is suspected. Excessive temperature tweaks can disguise the actual cause.
The goal is not to erase every physical seam. It is to choose where the seam appears and to maintain stable flow so the rest of the surface looks consistent. For gifts, a suitable orientation and matte surface sometimes reduce the visual impact of minor layering more effectively than chasing ultra-small layer heights.
5–6. Layer shifting and under-extrusion
5. Layers suddenly move sideways. A distinct step after an otherwise aligned print usually indicates a movement mismatch. Investigate collisions with curled plastic or supports, obstructions, pulleys, belts and the selected speed/acceleration profile. If the toolhead is striking the object, stop. Prusa's knowledge base notes belt tension and insecure motor pulleys as common causes of actual layer shifts; follow your printer's maintenance instructions rather than tightening parts blindly.
6. Gaps or thin, brittle walls. Under-extrusion occurs when the machine delivers less material than the slicer expects. Check spool feeding, filament path, drive-gear grip, nozzle condition and material-profile compatibility. A clogged or partially obstructed hotend can create the symptom. Use the maker's authorised cleaning process rather than poking a hot nozzle with an improvised tool. If the extruder clicks or grinds, stop the print and diagnose the feed.
7–8. Poor bridging, support scars and failed overhangs
7. Saggy bridges. Bridging asks molten plastic to travel through open air between existing supports. Check whether the model's gap is realistic for your printer, whether the fan behaviour is appropriate and whether the slicer uses a sensible bridge speed and direction. Try a small calibrated bridge test. Large unsupported spans may need a redesign, different orientation or physical supports instead of an increasingly extreme cooling setting.
8. Rough support contact. Supports can leave scars when they cling tightly to the underside of the print or when their gap and interface are poorly matched to the material. Preview exactly where supports meet the model; rotate important cosmetic faces away from difficult overhangs. A support-interface change may help, but test removal safely and avoid levering sharp tools against delicate or hot plastic. For important visible details, consider splitting a design into printable parts that are assembled later.
Remember that a visually complex virtual model may not account for every real-world support and thermal constraint. A decorative product preview cannot substitute for checking the sliced paths on the exact hardware before accepting a manufacturing order.
9–10. Weak layer bonding and a print that stops extruding
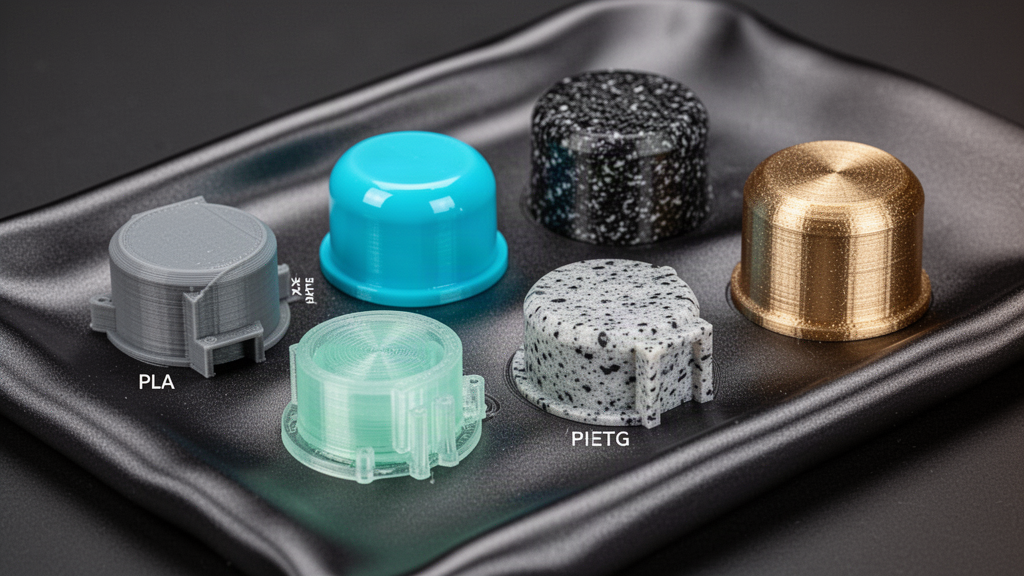
9. Layers split apart. Weak interlayer adhesion can arise from material mismatch, inappropriate cooling or temperatures, moisture, mechanical stresses, and orientation that loads the part across bead boundaries. Compare the recommended filament profile, ensure the spool condition is suitable and reconsider how force acts on the printed object. Cosmetic smoothness does not establish strength. Do not use an unvalidated replacement in a safety-critical application.
10. Printing movement continues but filament stops. The nozzle or filament path may be clogged, the drive gear may be slipping, or the hotend may be affected by heat creep. If your machine reports an error or makes a grinding noise, stop and follow the hardware maker's recovery procedure. Do not detach hot assemblies casually or force cold filament through an unheated nozzle. Log when the interruption began and whether it repeats at the same temperature or stage.
The ten-minute troubleshooting routine before retrying
- Stop the failed job safely and allow hardware to cool where appropriate.
- Photograph the symptom from two angles and record the failure layer.
- Record printer, nozzle size, filament, slicer profile and plate type.
- Compare the symptom against the ten categories above.
- Check the machine's official troubleshooting entry before maintenance.
- Make one appropriate change and save the previous profile.
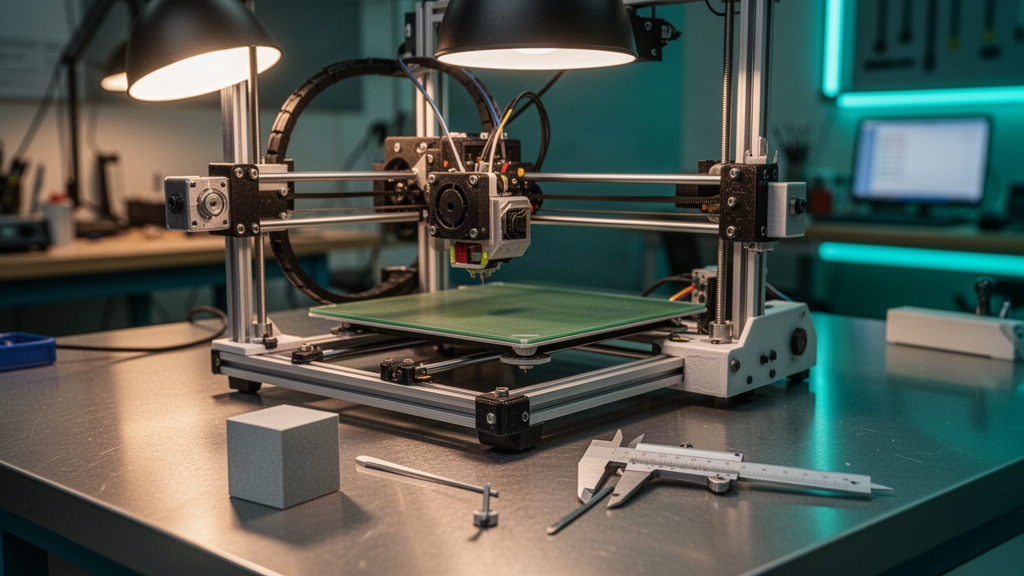
- Run a short repeatable calibration object using the same material.
- Inspect the first layer and print again only if operation is normal.
Not every failure is a calibration mistake. Some models have too-thin walls, inappropriate supports or unrealistic overhangs, and some filaments are simply wrong for the purpose. If the equipment is damaged or intermittently unsafe, repair or professional inspection takes priority over print completion. That cautious workflow reduces wasted filament and avoids turning a minor defect into a hotend or bed injury.
When the result improves, document it so the next print starts from a proven profile. Share helpful maker notes and manufacturer references instead of treating a single successful print as universal proof that a setting works for everyone.
Frequently asked questions
01Why is my 3D printer making spaghetti?
The print may have detached, a support failed or extrusion is occurring in free air. Stop safely, inspect the point of failure and check first-layer adhesion, collisions and support geometry.
02What causes 3D print layer shifting?
Common causes include axis obstruction, collisions, loose pulleys or unsuitable motion settings. Follow your particular printer manufacturer's maintenance guide.
03How do I fix filament stringing?
Check filament moisture, the approved temperature and retraction profile, and travel moves. Use a small controlled stringing test instead of changing many settings at once.
04Can 0.08 mm layers fix weak 3D prints?
No. Lower layer height is not a universal strength fix. Material, orientation, wall structure, extrusion consistency and interlayer bonding matter.
Sources and useful references
We link to official documentation and publisher guidance where useful. Advice and platform features can change; verify current details with the original source, your printer maker and relevant service provider.
Understand the machine before the next attempt
Explore a virtual precision toolpath and find practical guides before submitting an actual print for review.
Browse printer guides