What you need to know.
Thinner lines can look beautiful, but smaller isn't always better. See how layer height changes the finish, print time and practical choices behind a clean result.
- 0.20 mm is a practical starting point for many FDM prints; 0.12 mm favours delicate slopes and finer visible steps.
- A 0.08 mm profile is not automatically the best physical setting: printer, nozzle, material and time constraints matter.
- Layer height changes vertical resolution. Extrusion width, calibration, cooling and orientation also affect visible lines.
- PrintZilla's 0.08–0.28 mm setting is a virtual visualisation, not automatically generated production G-code.
Which 3D printing layer height should you use?
For many typical FDM machines, start around 0.20 mm; use 0.12 mm when visible curves and small details justify extra time.
Layer height is the planned vertical thickness of each deposited slice. The printer climbs upward in small steps while laying down molten filament. At 0.20 mm, a 20 mm-high object needs about 100 nominal layers; at 0.10 mm, it needs about 200. More layers can soften the staircase effect around slopes and curved shoulders, but they also create more movements and typically extend the print. The exact relationship depends on first-layer settings and the sliced shape.
| Nominal layer height | Best first use | Important trade-off |
|---|---|---|
| 0.28 mm | Rapid drafts, broad functional surfaces | Coarser stepping; nozzle/profile limits apply |
| 0.20 mm | Everyday brackets, organisers and gifts | Good balance of detail and time |
| 0.12 mm | Curved decorative pieces and smaller lettering | More passes and longer printing |
| 0.08 mm | Experimental ultra-fine visual detail | Often diminishing returns and long print times |
Why do 3D prints have visible horizontal layer lines?
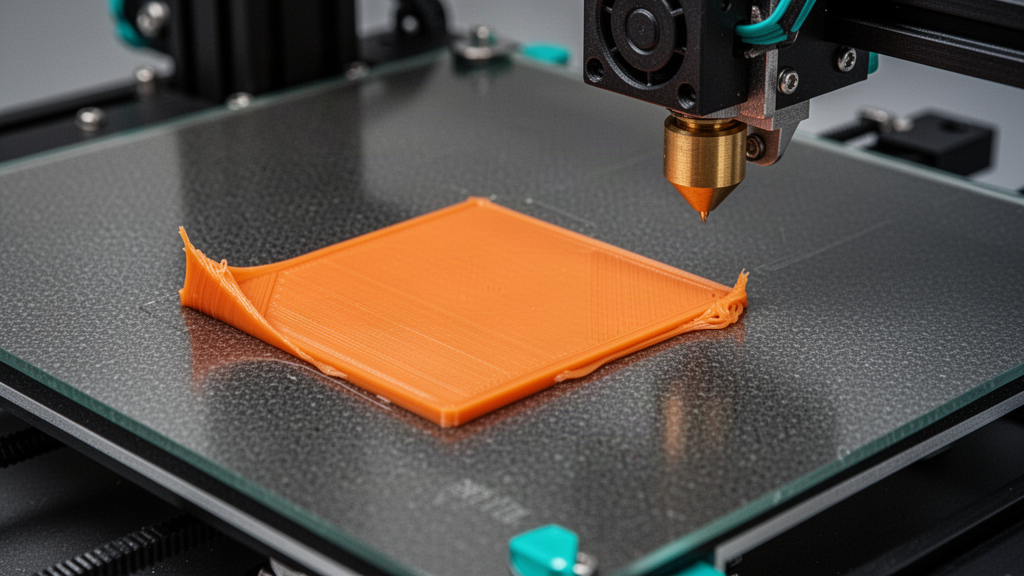
A filament printer builds an object from stacked paths, so some layering is normal. On a nearly vertical wall, each path sits close to the previous one and the finish may look uniform. Around a curved vase shoulder or gently sloped sculpture, the outside boundary moves horizontally with each step and the surface develops visible terraces. Lower layer heights narrow those terraces, but they cannot eliminate uneven extrusion, vibration, moisture in filament or poor cooling.
The camera can exaggerate lines. Glancing light across a metallic or glossy finish casts miniature shadows into grooves, while a matte material often hides them better. If surface appearance is your priority, compare identical printed samples under the lighting where the finished gift will live, rather than judging one enlarged photograph.
Layer height versus extrusion width: two different measurements
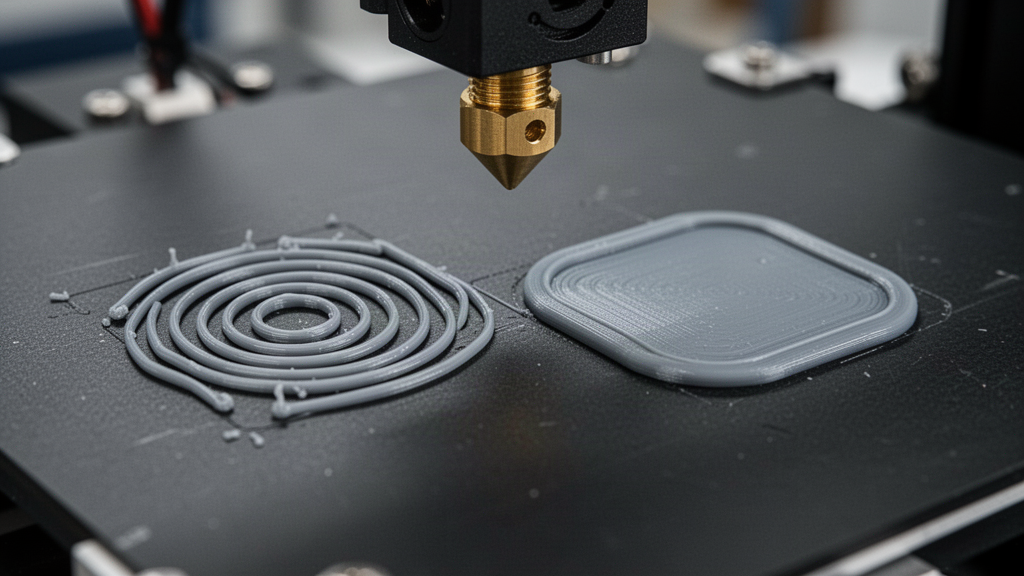
A layer can be only 0.12 mm tall while its printed line is several times wider. The nozzle pushes a shaped strand of plastic into the layer below, creating a flattened bead rather than a perfectly circular string. The slicer chooses both the vertical spacing and the extrusion width permitted by the printer and nozzle profile. Reducing height without changing width may improve vertical stair-stepping but will not necessarily sharpen tiny slots or text in the XY plane.
Nozzle diameter also matters. A larger nozzle can be excellent for robust utility parts, but it may struggle with miniature lettering. A smaller nozzle may resolve narrow features at the cost of slower delivery and increased clog sensitivity. Keep the recommended values for your exact hardware, rather than copying an internet setting intended for another machine.
0.08 mm vs 0.12 mm: is Ultra Fine actually better?
Not always. Some machines can make use of an extremely fine layer, but the visible improvement between 0.12 mm and 0.08 mm may be subtle on ordinary objects. Print time and the number of heating and movement cycles grow, and the printer must maintain stable positioning and flow throughout a longer job. Prusa's guidance notes that the benefit of going below about 0.10 mm can be relatively small compared with the time cost for typical circumstances.
If you are designing a jewellery display, miniature architectural relief or delicate decorative finish, a controlled fine-layer test may be worthwhile. For a basic cable clip or replacement knob, a sensible standard profile could produce a stronger, faster and more predictable result. Print two short comparison sections with identical material, temperature, perimeter and orientation settings before committing to a full-length job.
Five settings that matter as much as layer height
- First-layer calibration: a clean, correctly pressed first layer prevents gaps and early lifting.
- Temperature and flow: follow the filament and machine profile before adjusting extrusion settings.
- Cooling and speed: small decorative features need time to solidify before the next bead arrives.
- Orientation: rotate the design so important outward-facing details are not on the roughest overhang.
- Perimeters and seam position: the wall layout and seam placement can change the visible finish even at the same layer height.
Inspect the toolpath preview rather than trusting the nominal height alone. Check thin walls for missing paths, bridges for unsupported spans, and decorative letters for gaps where the nozzle cannot physically fit. Changing print settings is a controlled experiment: change one variable, save the version and evaluate a repeatable sample.
How much longer does a smaller layer height take?
As a rough geometry-only comparison, the number of layers is inversely related to height. If your print has 100 layers at 0.20 mm, it might have around 167 at 0.12 mm and 250 at 0.08 mm for the same nominal height. That does not mean the real print takes exactly 1.67 or 2.5 times as long: travel, acceleration, supports, infill, wall lengths, cooling delays and startup overhead all influence the total. Use your slicer's time estimate for the exact model and machine.
What PrintZilla's precision selector does and does not do
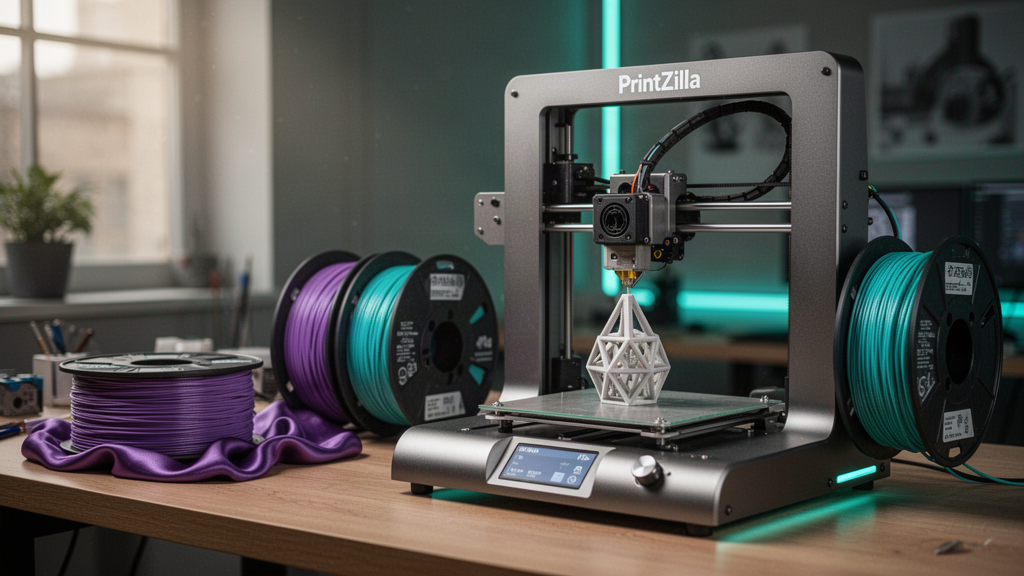
The PrintZilla browser demo now offers Draft 0.28 mm, Standard 0.20 mm, Fine 0.12 mm and Ultra Fine 0.08 mm. Selecting a finer mode changes the generated simulated layers, their spacing and the visible extrusion bead geometry. That lets you study the movement and apparent finish rather than watch a surface instantly change colour. It is designed for education and cinematic exploration.
It is not a validated machine slicer. It does not connect a virtual setting to real nozzle temperatures, extrusion calibration, tested supports, material flow, machine firmware or G-code. If you want to commission a physical print, a human still needs to review your requirements and a compatible manufacturing plan. Keeping that boundary clear makes the simulation more useful, not less impressive.
Your quick layer-height decision checklist
- Is the object functional or decorative? Choose priorities before numbers.
- Which face or curve must look most refined? Rotate the design to protect it.
- Does your real printer have a suitable nozzle and approved layer profile?
- Can you afford the longer print and extra potential for a failure late in the job?
- Have you compared two small samples rather than two unrelated photographs?
A well-calibrated 0.20 mm print can look more professional than a poorly tuned 0.08 mm print. Start with the most dependable profile, inspect the result and refine only where the finished object benefits. With a custom order, share reference photos of your intended finish and agree on quality expectations before printing begins.
Frequently asked questions
01Is 0.08 mm the best 3D printing layer height?
Not universally. It can improve vertical stepping on suitable printers, but many ordinary prints gain little relative to the extra time. Check your nozzle and manufacturer profile.
02Will 0.12 mm layers make a print stronger?
Not automatically. Strength depends on material, orientation, bonding, wall count, infill and conditions as well as layer height. Test load-bearing parts for their actual purpose.
03Why can I still see lines at 0.08 mm?
FDM creates stacked strands. Nozzle width, seams, flow variation, motion artefacts and lighting can make lines visible even with fine vertical slices.
04Does selecting Ultra Fine in PrintZilla produce real printer G-code?
No. It changes the browser-based virtual print's visible bead geometry and simulated layer count. Real printing needs a machine-specific sliced and verified file.
Sources and useful references
We link to official documentation and publisher guidance where useful. Advice and platform features can change; verify current details with the original source, your printer maker and relevant service provider.
See thinner virtual filament, layer by layer
Open the PrintZilla precision printer and compare the same model at 0.20, 0.12 and 0.08 mm. For real production, request a reviewed model and print plan.
Try the precision printer