What you need to know.
From a digital idea to a real object: the friendly, jargon-light guide to machines, materials, slicers, and your very first successful print.
- Most home 3D printers build objects by laying down melted filament one layer at a time.
- A slicer turns a 3D model into printable instructions; an STL is a model, not a ready-to-print machine programme.
- PLA is often the most approachable first filament for indoor decorative and prototyping projects.
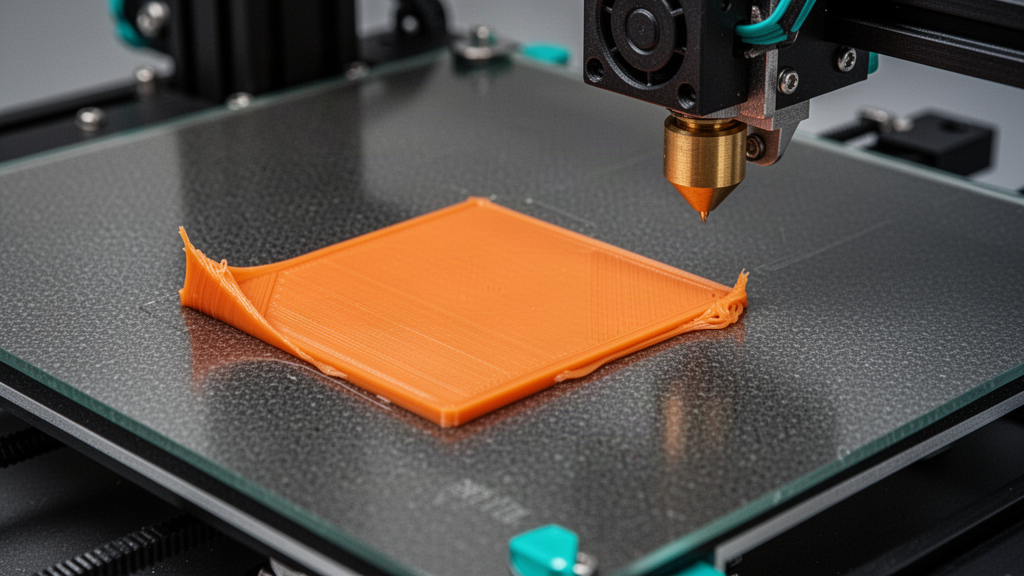
- Your first goal is a clean first layer, not record-breaking speed.
What exactly is 3D printing?
3D printing is a way of making a physical object from a digital design. Instead of carving a shape from a solid block, a printer adds material where the design needs it. That is why the wider industry calls it additive manufacturing. Think useful hooks, custom organisers, replacement knobs, engineering prototypes and wonderfully unnecessary desk ornaments.
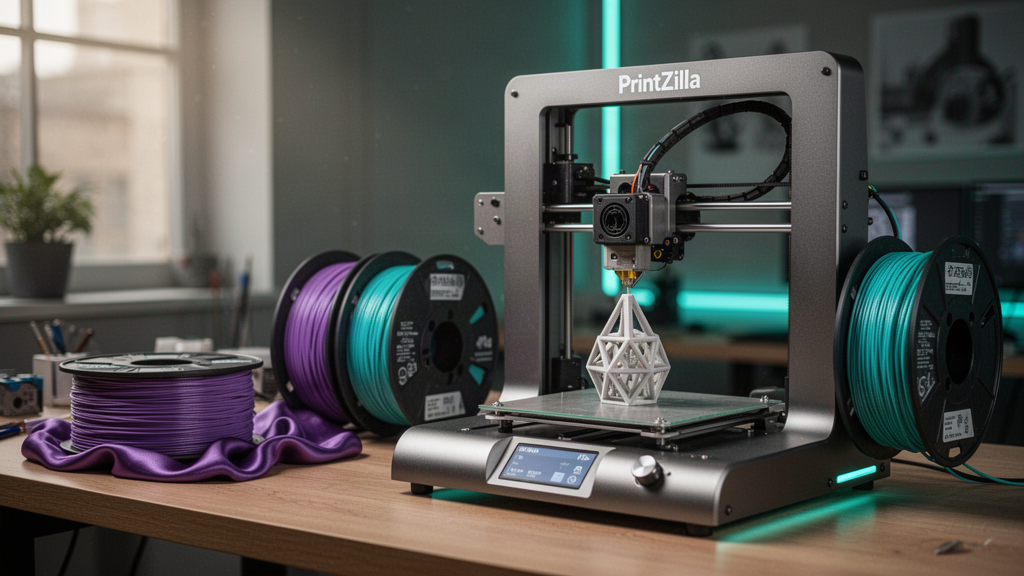
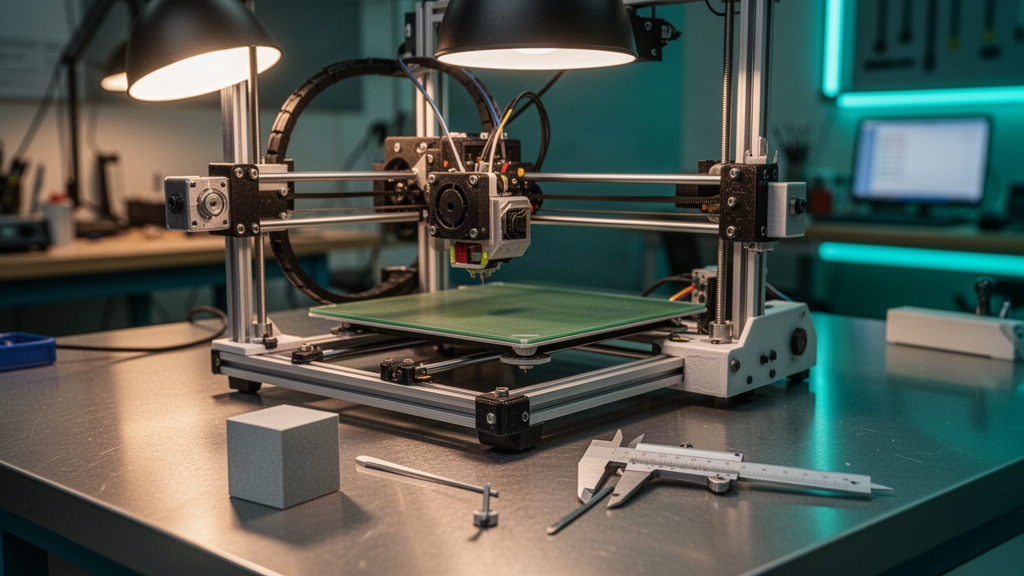
For most people getting started at home, the familiar desktop machine is an FDM or FFF printer. A reel feeds plastic filament into a heated print head, which moves along a planned path and places thin, hot lines of material onto a build plate. Each new layer bonds to the one beneath it. The result grows slowly into a three-dimensional object.
How does a 3D printer work? The five-step journey
- Find or design a model. You can create something in CAD software, customise a parametric design, or download a model you are permitted to print.
- Inspect the file. Check its size, orientation, thin walls and any open or damaged surfaces. Common model formats include STL and 3MF.
- Slice the model. Slicer software converts geometry into layers, movement paths, speeds, temperatures and support structures for a particular printer.
- Prepare your machine. Select a compatible filament, clean the build plate, check bed calibration and load the correct profile.
- Print, cool and inspect. Watch the first layer, let the build complete, then remove the object safely after the bed cools.
The 3D printing words worth knowing
| Term | Plain-English meaning |
|---|---|
| FDM / FFF | A printer melts and extrudes filament in stacked paths. |
| Filament | Plastic supplied on a spool, commonly PLA or PETG. |
| STL / 3MF | File formats for 3D geometry; 3MF may also contain useful project settings. |
| Slicer | Software that turns a model into machine instructions, commonly G-code. |
| Layer height | Thickness of each printed layer; smaller can improve detail but usually takes longer. |
| Infill | Internal structure that supports a print without needing to be completely solid. |
| Supports | Temporary printed scaffolding for difficult overhangs. |
| Build plate | The surface on which the first layer needs to stick. |
PLA, PETG and other filament: which should you try?
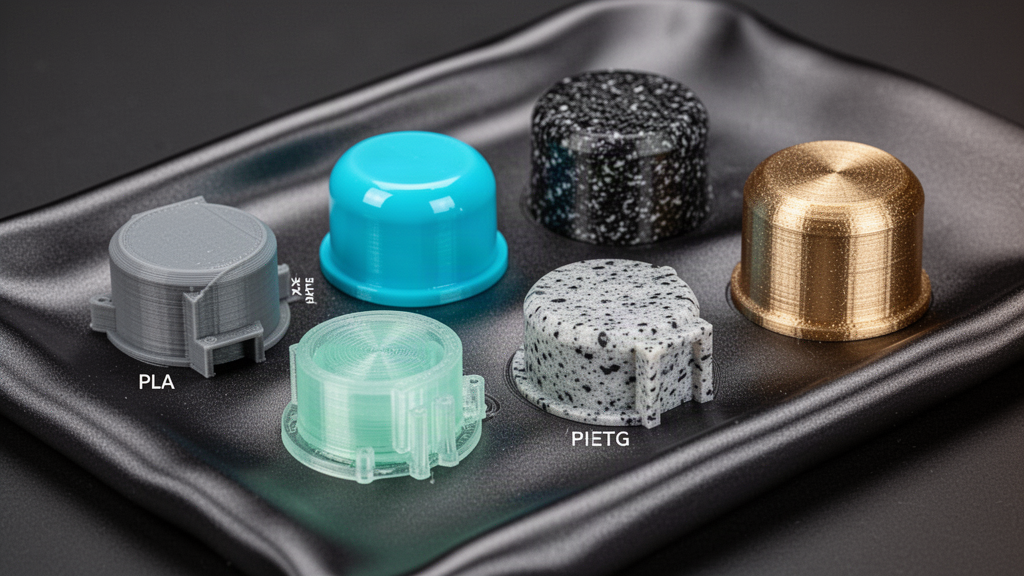
PLA is a sensible first stop because it usually prints at moderate temperatures, needs less specialist handling than many technical plastics and produces attractive detail. It suits decorations, organisers, figurines and early prototypes. It is less appropriate for hot car interiors or heavily loaded parts where its heat resistance can be a limitation.
PETG is often the next step for tougher functional items and better temperature tolerance. It can be stringier, may need drying, and can adhere too strongly to certain smooth PEI beds. TPU brings flexibility, while ABS, ASA and various reinforced materials call for greater attention to enclosure, ventilation, wear and machine compatibility.
What should your first 3D print be?
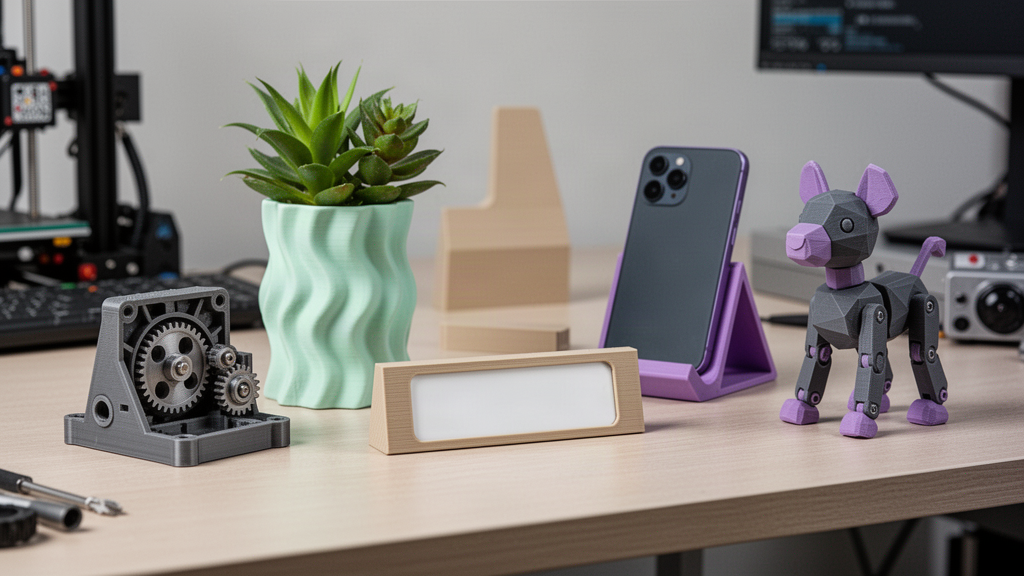
Choose a small object that will finish relatively quickly and has a broad, stable base: a cable clip, simple nameplate, plant label or calibration shape. Avoid a tall, fragile sculpture with dozens of supports as your very first attempt. A modest print is easier to watch, diagnose and repeat.
- Confirm the selected printer profile matches the actual machine and nozzle.
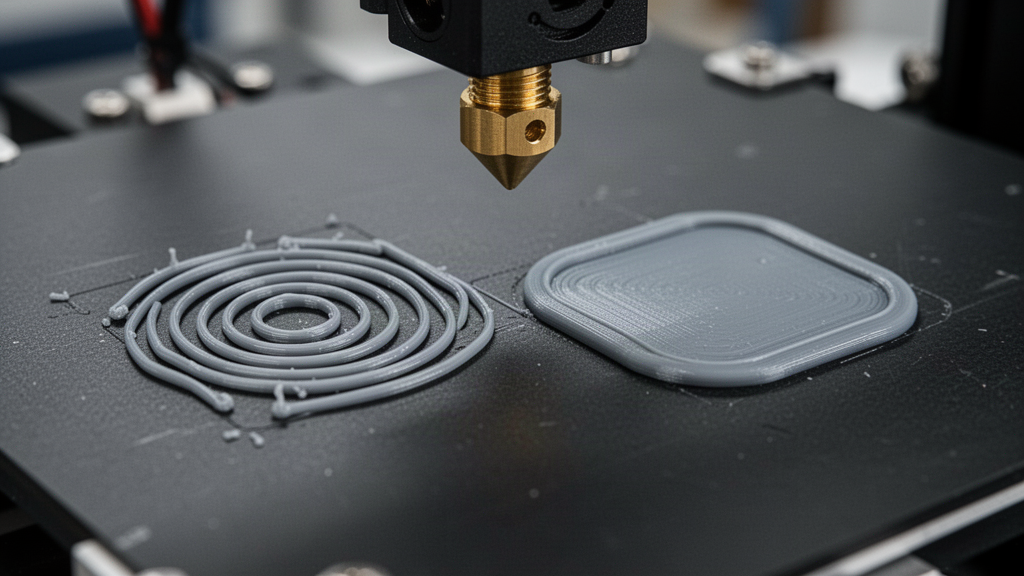
- Check the first layer forms connected lines without dragging, gaps or ridges.
- Choose an uncomplicated material like ordinary PLA and keep the spool dry.
- Stay nearby for the opening layers and do not leave a new setup running unattended.
- Keep children away from hot surfaces, moving axes and loose filament.
Is 3D printing expensive in the UK?
A desktop printer can cost from well under £200 to several hundred pounds, before accessories. The print itself uses a portion of a filament spool, along with electricity, occasional replacement parts and your time. The final cost of a custom order also includes design review, preparation, finishing, packaging and delivery.
Buying a machine is not the only way to make something. If you need one custom part, an occasional gift or a design review, a print service can be more sensible than buying hardware and troubleshooting it yourself. Compare the size, materials, lead time and post-processing in any quote.
Common beginner mistakes to avoid
- Using a dirty or greasy build plate, then increasing bed temperature repeatedly instead of cleaning it.
- Starting at an advertised maximum print speed rather than a sensible material profile.
- Ignoring part orientation and discovering that a fragile tab breaks across the layer lines.
- Assuming every STL is watertight, printable or licensed for resale.
- Removing a print while the bed is hot or using sharp tools carelessly.
- Trying PETG or speciality filament without checking build-plate and nozzle compatibility.
The quiet superpower of 3D printing is iteration. Save your slicer settings, change one variable at a time and photograph failures. You will learn more from two careful tests than ten random changes.
A realistic first-week plan helps enormously. On day one, learn the controls, ventilation requirements and safe filament loading procedure for your exact machine. On day two, slice a small calibration print and watch the first layer from start to finish. Then try a useful object with a simple flat base. Save the slicer project and take a photograph of the result. Once you can repeat that print confidently, experiment with a different layer height or infill pattern, but not both at once. If the result suddenly gets worse, return to the last working profile. Keep a notebook with filament brand, material, nozzle size and temperatures. This sounds less glamorous than pressing a maximum-speed button, yet it is how you build a dependable maker workflow. Do not rely on a virtual demonstration alone for safety or mechanical calibration: your printer manufacturer is the source for hardware-specific instructions, and hot parts should only be handled when safe.
Frequently asked questions
01Do I need to know CAD to start 3D printing?
No. You can begin with a legitimately shared 3D model and a printer-specific slicer. Learning basic CAD later helps you create or modify your own objects.
02What is the easiest filament for beginners?
Conventional PLA is a common beginner choice. Always use the filament manufacturer’s and your printer’s validated settings.
03Can I print anything I download?
Not necessarily. A model must fit the printer and material constraints, be geometrically printable, and carry a licence that permits your intended use.
04Can PrintZilla print my own STL?
PrintZilla’s Printworks flow accepts model inspection and print enquiries, with suitability and production details reviewed before an order is agreed.
Sources and useful references
We link to official documentation and publisher guidance where useful. Advice and platform features can change; verify current details with the original source, your printer maker and relevant service provider.
Make your first print less mysterious
Watch a virtual nozzle lay down real 3D toolpaths, change materials and inspect the printer up close.
Explore the PrintZilla simulator